How to install Raspbian Lite on Raspberry Pi Zero W?
If you have purchased Raspberry Pi Zero or Zero W then you might struggle with running a proper OS on it. Since Raspberry Pi zero has limited resources hence you can install any OS but might not get the best user experience. In this article we will lean how to install Raspbian lite on Raspberry Pi Zero W single board computer.
Raspberry Lite or now well known as Raspberry Lite OS is optimized and built for Raspberry Pi zero and Zero W. This is a command line based operating system built for SBC’s (Single Board Computer) with lower CPU and RAM. Lets quickly see what do you need to install this operating system and what are the steps involved.
Things Needed
- Raspberry Pi Zero / Zero W
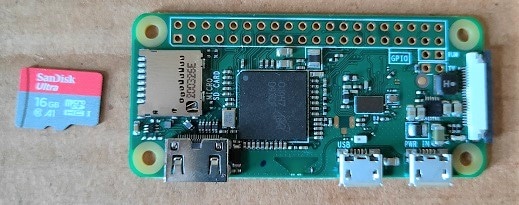
- 4GB / 8 GB / 16 GB SD Card
- Power adapter for Raspberry Pi
- A Laptop
Raspberry Pi OS Lite
Raspberry Pi Lite is small and light weight operating system built for Raspberry Pi Zero and zero W. This operating system doesn’t have GUI (Graphical User Interface). It is completely CLI (Command Line Interface) based. This is a Debian based operating system. If you are not GUI savvy user then you can go for this operating system for your PI. You can download the OS from the below links
Raspberry Pi Zero / Raspberry Pi Zero W
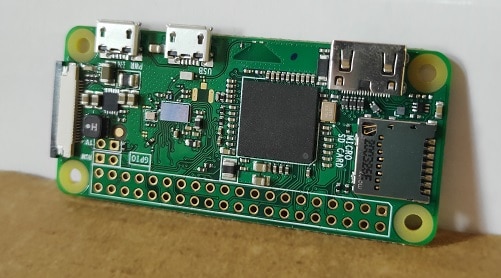
This is one the best single board computer in terms of price and community support developed by Raspberry Pi Foundation. Raspberry Pi Zero is very compact and easy to use single board computer. Later at the end of February 2017 Raspberry Pi Zero W was introduced. It was an extended version of Pi zero. In addition, WIFI and Bluetooth was added which made a great difference. As per Raspberry Pi Foundation Raspberry Pi Zero W will remain in production until at least January 2026.
Let’s Take a look at the Technical Specification of the board
- 1GHz, single-core CPU
- 512MB RAM
- 802.11 b/g/n wireless LAN
- Bluetooth 4.1 (BLE)
- Mini HDMI and USB On-The-Go ports
- Micro USB power
- GPIO 40-pin header
- Camera connector
Burning the Raspbian Lite image on SD Card
After downloading the image you need to burn this image on a SD Card. This process includes some steps and software which you can download from the link below.
We will be using win32 disk imager utility, which will be used to flash the Raspbian Lite OS image on SD Card. Since the size of OS is less, you can use a 4 GB micro SD card.
You have to connect your SD Card to your computer. Launch any of the application that you have installed. Select the Raspbian image and the SD card and click on flash. This step might take sometime to complete. The application will notify once the flashing process is complete.
Raspberry Pi recommends Raspberry Pi Imager to write images to SD cards. You can also use some alternatives for windows like balenaEtcher, Win32DiskImager or imgFlasher. In this tutorial we will be using Win32DiskImager for loading the image on SC Card.
Steps Involved
- Insert the SD card into your SD card reader or SD card adapter.
- Now insert the SD card read into a USB port of your laptop and in case of SD card adapter use the card slot.
- Now note the drive letter which is assigned to the SD card after inserting.
- You can also see the drive letter in the left hand side of Windows Explorer.
- Download the Win32DiskImager file from the Sourceforge and run it to install the software on your laptop.
- Run the Win32DiskImager installer on your desktop.
- Browse and select the image file that you extracted earlier.
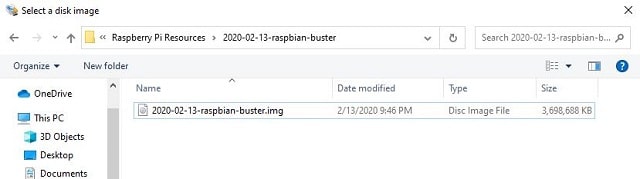
- Below Device, select the correct drive letter of your SD card.

- Be careful while selecting the correct drive. If you select the wrong drive then it could destroy the data present on your computer’s hard disk!
- Incase you are using an SD card slot in your computer and facing some issues or can’t see the drive in the Win32DiskImager utility then, try using an external SD adapter.
- Now click ‘Write’ and You might get a popup regarding confirm overwrite. Click in Yes to proceed further.
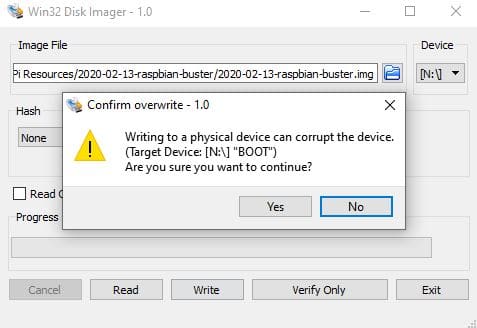
- Once the write is successful, close the software and eject the SD card.

Enabling Wireless Network and SSH
If you want to use you raspberry pi without using a monitor, then you have to configure the wireless network and enable SSH. These steps are simple and easy to do. We have a separate article where all the steps are explained.
How to access Raspberry Pi without monitor
Booting Up the Pi first time
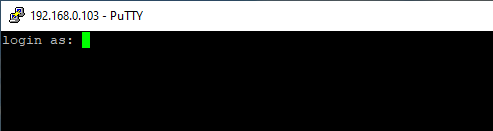
Once the above step are completed, Now open putty and try to access the pi zero using IP address for the first time. Remember this is a CLI based OS hence you cannot expect Graphical User Interface. This is the main reason for this OS to be light weight.
From the above article you can SSH using Putty
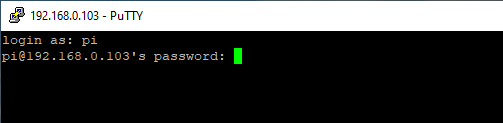
Then you can enter the default user name and password for logging in.
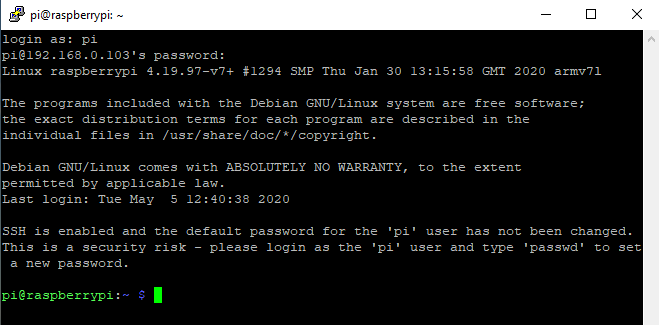
Below is the first prompt you get after login for the first time.
Must Read: