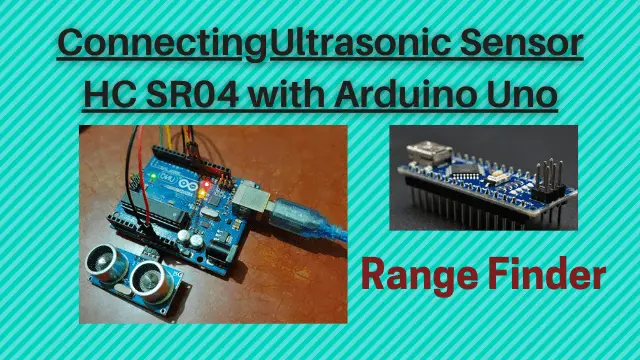
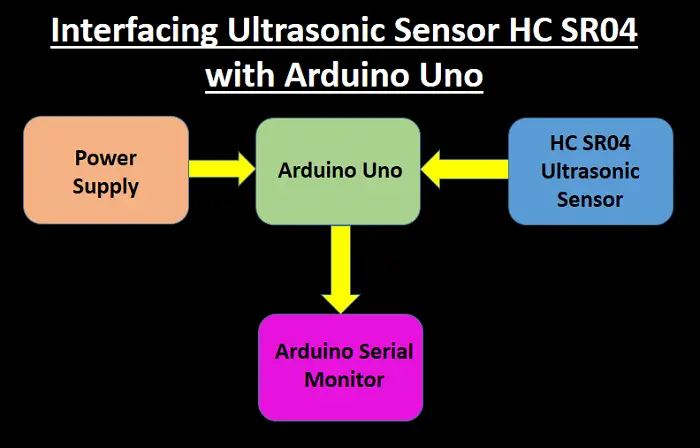
Interfacing Ultrasonic Sensor HC SR04 with Arduino Uno
In this tutorial we are going to learn Interfacing Ultrasonic Sensor HC SR04 with Arduino Uno. This is simple and a beginners tutorial for understanding the concept of inter connecting an ultrasonic sensor with Arduino Uno.
Ultrasonic Sensor is a pair of transceiver module that measures distance. The measuring of distance is performed using Sound Waves. The module works by transmitting a sound wave which is a ultrasonic frequency. After this transmission the receiver waits for the signal to bounce back after striking the object.
Now the time taken between transmission of signal and receiving of the signal back is used to determine the distance of the object.
To measure the distance it uses a simple formula
Distance = (Speed * Time)/ 2
Here Speed is Speed of sound in the air and Time is the time delay of the ultrasonic wave to strike the object and receive back. The entire formula is divided by 2 as the sound wave travels twice.
Parts List
- Arduino Uno (BEST BUY) x 1
- HC SR04 Ultrasonic Sensor (BEST BUY)
- Laptop With Arduino IDE
- Jumper Cables (BEST BUY)
How it Works?
This sensor is widely used in many projects like obstacle detector, electronic distance measurement and in IoT projects. In this tutorial we will learn Interfacing Ultrasonic Sensor HC SR04 with Arduino Uno.
HC SR04 Ultrasonic Sensor
HC-SR04 is an ultrasonic ranging module which contains one ultrasonic transmitter and a receiver. This sensor is cheap and cost effective sensor. The sensor can measure minimum 2cm to maximum 400cm of distance. It provides completely contact less measurement functionality. It Also provides a ranging accuracy of up to 3mm. HC-SR04 module also includes a control circuit along with the pair of transceiver.
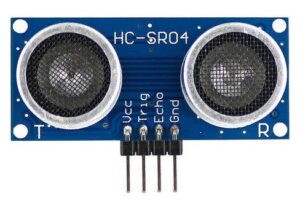
HC-SR04 sensor has 4 pins as listed below:
- Vcc (5V supply)
- Trig (Trigger)
- Echo (Receive)
- Gnd (Ground)
The key features to be noted are:
- Operating Voltage: 5V DC
- Operating Current: 15mA
- Measure Angle: 15°
- Ranging Distance: Minimum 2cm and Maximum 4m
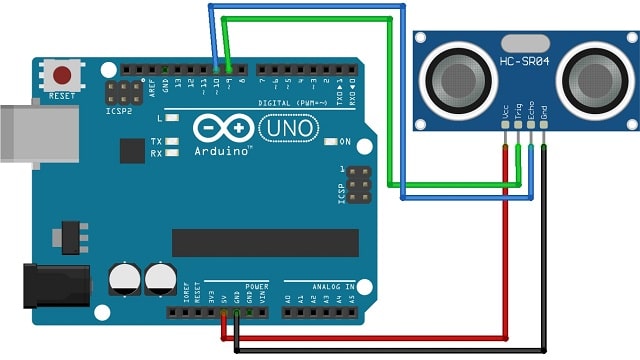
Circuit Diagram
Code
You can copy paste the code below in your Arduino IDE and upload it.
//Pin Configuration
const int trigPin = 9;
const int echoPin = 10;

//Define variables
long duration;
int distance;

void setup()
{
pinMode(trigPin, OUTPUT); // Sets the trigPin as an Output
pinMode(echoPin, INPUT); // Sets the echoPin as an Input
Serial.begin(9600); // Starts the serial communication
}
void loop()
{
digitalWrite(trigPin, LOW); // Clears the trigPin
delayMicroseconds(2);
digitalWrite(trigPin, HIGH); // Sets the trigPin on HIGH state for 10 micro seconds
delayMicroseconds(10);
digitalWrite(trigPin, LOW);
duration = pulseIn(echoPin, HIGH); // Reads the echoPin, returns the sound wave travel time in microseconds
distance= duration*0.034/2; // Calculating the distance
Serial.print("Distance in cm: "); // Prints the distance on the Serial Monitor
Serial.println(distance);
delay(500);
}
Other Projects:
- Smart Switch using Blynk | IoT Based WiFi Switch
- IoT based water level Indicator using ESP8266
- Touch Based Switch board using TTP223
- DHT11 based Temperature Humidity Monitoring IoT Project
- Telegram NodeMCU based Home Automation
- NodeMCU ESP8266 IoT based LPG Gas Leakage Alarm
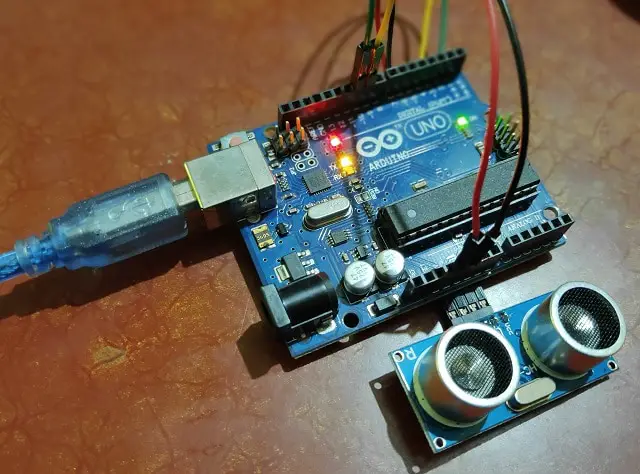
Construction & Testing
As per the circuit diagram, Ultrasonic sensor is connected with Arduino UNO. You can also use Arduino nano or Mini.
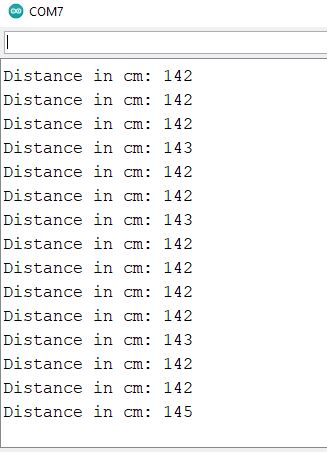
After uploading the code successfully Open the Serial monitor and you will receive below output.
This is a simple project for beginners to understand the concept of connecting ultrasonic sensor with Arduino Uno. You can use this as a part of big project.
1 thought on “Interfacing Ultrasonic Sensor HC SR04 with Arduino Uno”