Introduction
These days we have lot of options to send messages using our smartphone. Many developer have come up with many internet based messaging apps. In this article we will talk about one of the most famous messenger i.e. Telegram. We will also interface it to build Telegram NodeMCU based Home Automation project and control our appliances using Telegram app.
Telegram is a free messaging application. This is used to send text, images, videos or transfer large files without any cost. It allows API’s to integrate with Telegram and build custom apps and bots. This is a big advantage in Telegram among all messaging application. Custom bots can be built using telegram, which can be set up easily. These bots can be interfaced with any other application to trigger some event.
You can download this “Telegram” app on your smartphone from play store or apple store. You have to Sign Up for the first time with your country code and mobile number.
Parts Required
For building Telegram NodeMCU based Home Automation project you need below materials.
- ESP8266 NodeMCU x 1
- 2 Channel 5v DC Relay Module x 1
- Mobile Charger 5v/1A as power supply
Prerequisite
Before proceeding further, We have to configure Arduino IDE with some mandatory requirements for this code to run properly after uploading in nodemcu.
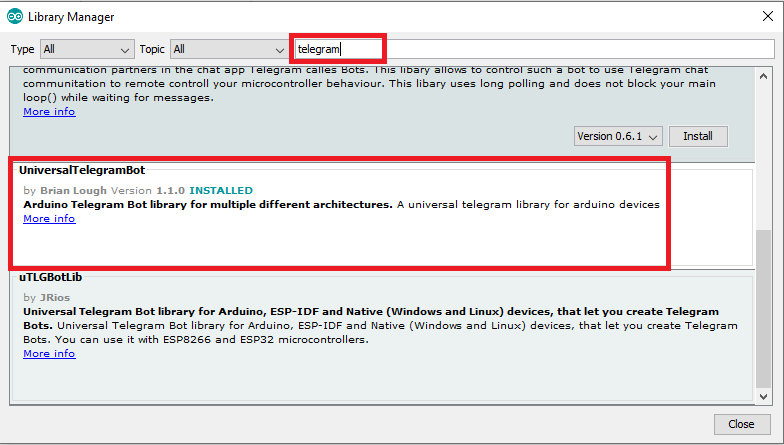
Launch Arduino IDE and open Library manager
Sketch -> Include Library -> Manage Libraries

Search for “Telegram” in the Library Manager and install UniversalTelegramBot by Brian Lough.
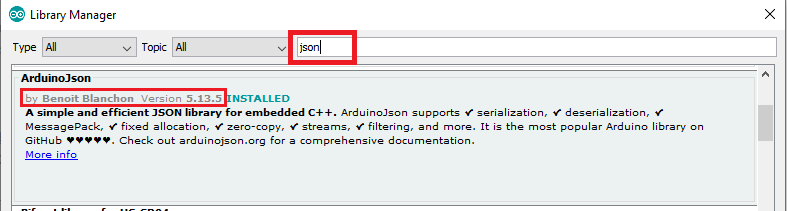
On the same Library Manager sear for “json“. Install ArduinoJson by Benoit Blanchon. Select Version 5.13.5 DO NOT select any higher version (6.x.x ). Higher versions have compatibility issues and the code will not respond. This library is used for parsing json from the API responses.
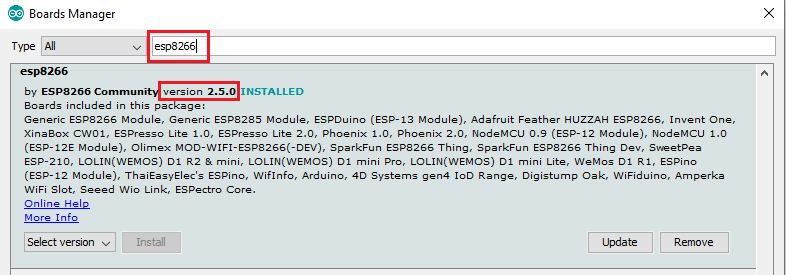
Now open Boards Manager
Tools -> Board -> Boards Manager

Once you open Boards Manager Search for “esp8266″ Please install version 2.5.0 DO NOT select any higher version or lower version
If you have installed above with correct versions mentioned then you are done with Arduino IDE configuration and requirements.
Creating Bot
Telegram has provided a great help in creating a custom bot. Here the word bot is referring to a Robot. Building a bot is easy and simple in telegram app.
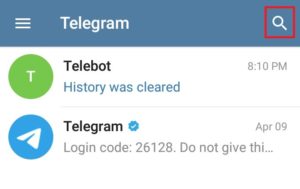
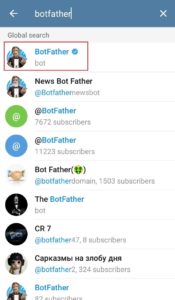
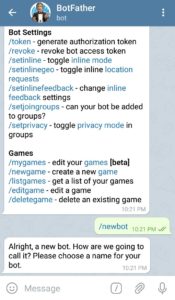
Search for “BotFather” and tap on it
Tap on it and open, Tap on Start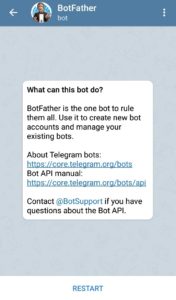
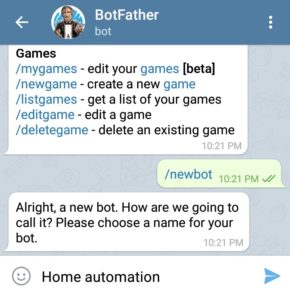
once you start you get many options. Just tap on “/newbot” Enter a name for your bot
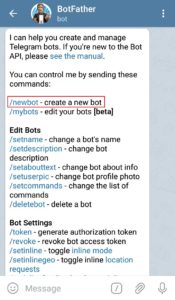
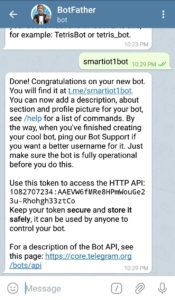
Enter a username for your bot as per instruction. This username has to be unique and ending with bot.

Once you provide a unique user name, the botfather will share API bot token for your custom made bot. Now you have to copy this bot token and paste it in the code.
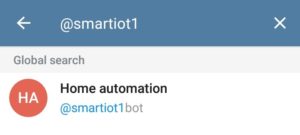
Now search the bot with username provided and tap on it. Now you are ready with your bot. Lets see the hardware.
How it Works?
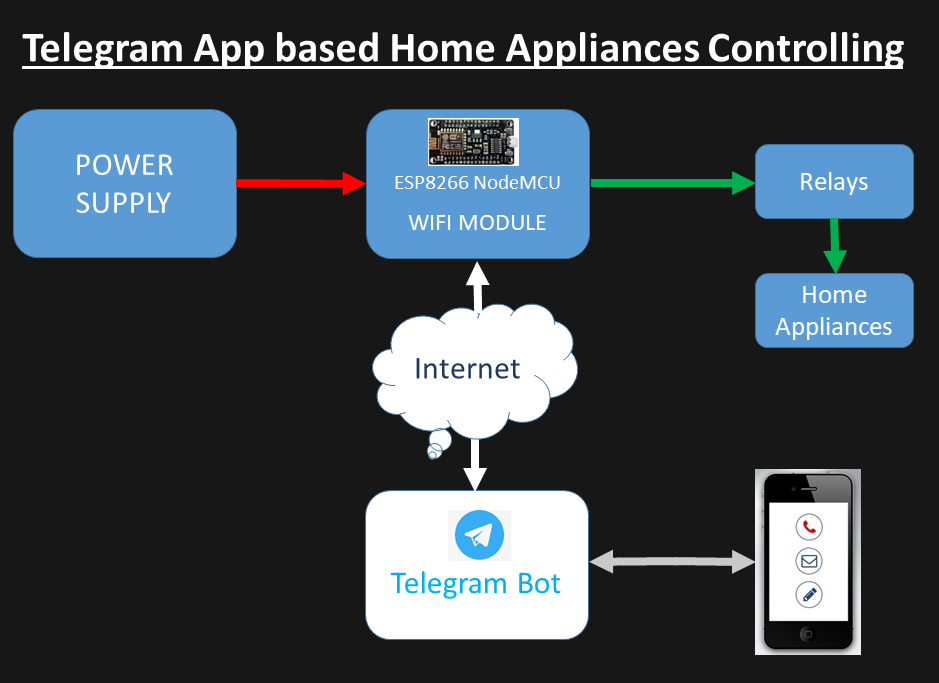
First we create a telegram bot. Telegram has this good feature which allows to create custom bots and connect it using API’s. The bot provides a bot token which is added in the code. After saving we will upload the code in NodeMCU. Once the nodemcu gets connected with internet, then it is ready to take inputs from telegram app.
As per the code /start will start the bot. The bot will send below response for the first time.
Welcome to Universal Arduino Telegram Bot,
/Device1on : To switch the Device 1 ON
/Device1off : to switch the Device 1 OFF
/Device2on : to switch the Device 2 ON
/Device2off : to switch the Device 2 OFF
/status : Gives you current status of Devices
You can tap on /Device1on and it will turn on the device 1 and /Device1off for switching off device 1. Similarly for device 2 you can tap on /Device2on and /Device2off for switching off.
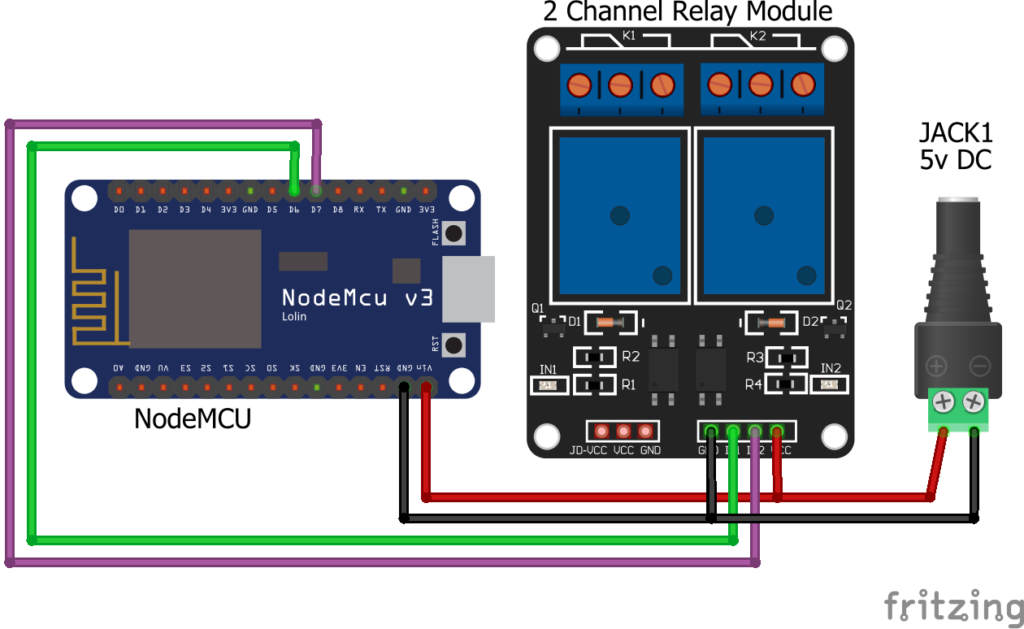
Connection
Below is the connection diagram for this project. This requires only 3 components as shown and easy to connect.
Code
You can get the code from here. Just make changes in Network SSID, Network Password and Bot token.
// Initialize Wi-Fi connection to the router
char ssid[] = "Network SSID"; // your network SSID (name)
char password[] = "Network Password"; // your network key

// Initialize Telegram BOT
#define BOTtoken "xxxxxxxxx:xxxxxxxxxxxxxxxxxxxxxxxxxxxxxxxxxx" // your Bot Token
Construction
The connection is simple. NodeMCU connected with 2 channel relay module and powered by a common power supply of 5V/1A. These are connected using some jumper wires.
Disclaimer: This project deals with mains. You should have know of connecting AC devices or else please proceed under the guidance of a professional. IoT Starters or the Author doesn’t take any responsibility in case of any damage.
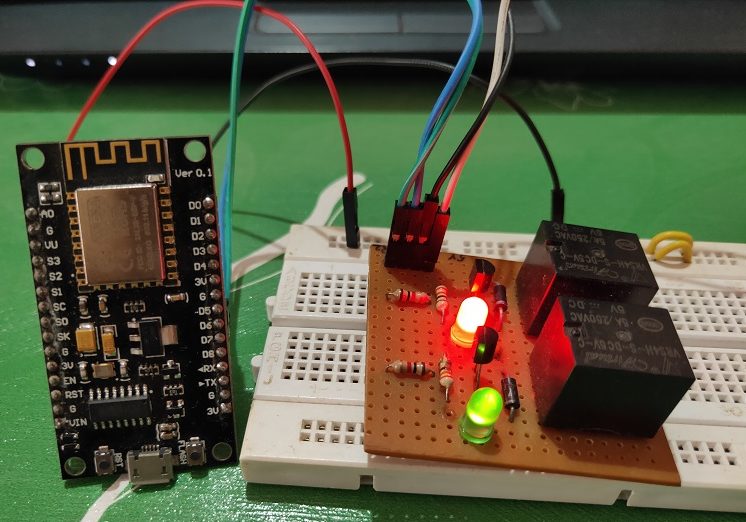
Testing
Complete project is available here
Conclusion
This project is easy to build and can be used effectively. This project responds slowly and this is a major drawback of this project. Else this project is good as you don’t have to install any other app to control your devices. You can edit this code and control 4 or 6 devices.